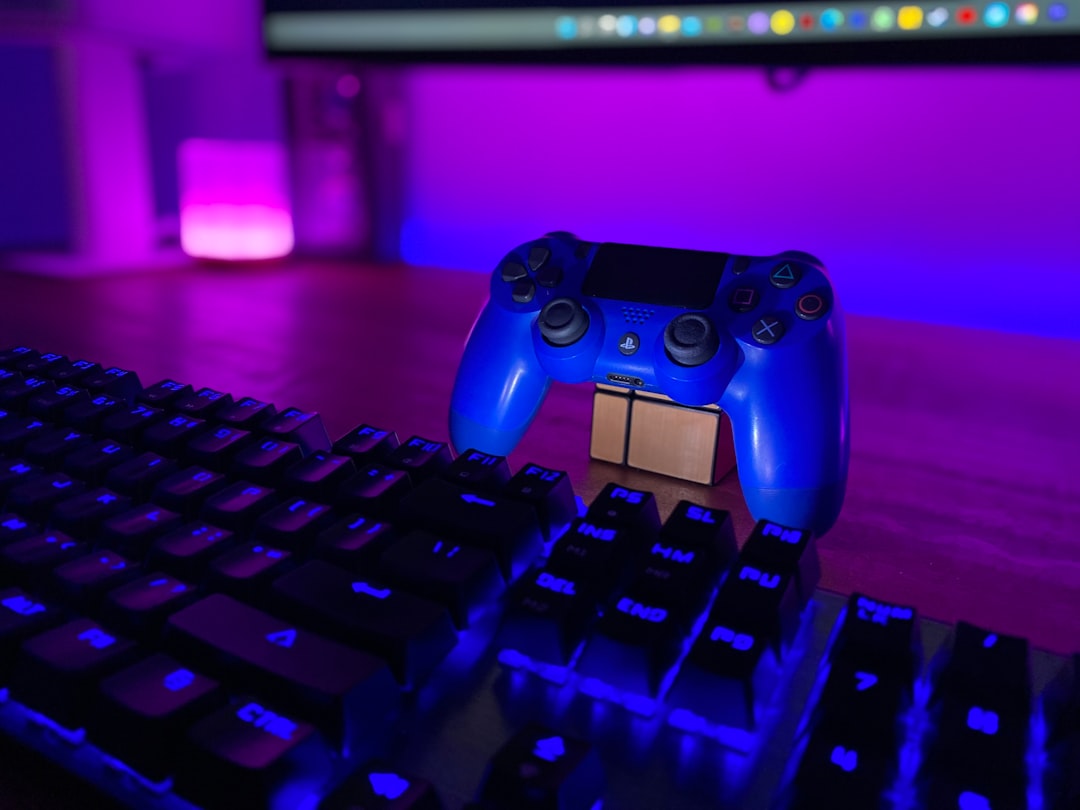
A gaming PC does not need constant tinkering, but it does benefit from a repeatable maintenance routine. This checklist explains how to clean a gaming PC safely, review storage health, manage drivers and firmware, check temperatures, and decide when a symptom requires deeper troubleshooting. Use the monthly and seasonal checkpoints to protect performance, reduce avoidable interruptions, and prepare your system for demanding new games or hardware upgrades.
Overview
Gaming PC maintenance is mainly preventive. Dust management helps preserve airflow, storage checks can reveal a drive that is becoming unreliable, and temperature monitoring gives you a baseline before a performance problem becomes obvious. Software maintenance matters too: operating-system updates, graphics drivers, chipset packages, and motherboard firmware can affect compatibility and stability, but they should not be installed blindly.
The right routine depends on your environment. A PC on the floor, near a window, in a room with pets, or in a dusty workspace may need more frequent cleaning than a system placed on a desk in a clean room. Likewise, a compact case, a high-performance GPU, or a heavily overclocked system deserves closer temperature checks than a lightly used office-and-gaming PC.
Before opening the case, shut down the computer, switch off the power supply if it has a rear switch, unplug the power cable, and allow components to cool. Do not remove a component unless you are comfortable reinstalling it. If the PC is under warranty, review the manufacturer’s terms before replacing thermal paste, removing heatsinks, or opening sealed assemblies.
What to track
1. Dust, airflow, and physical condition
Inspect the front, bottom, and top dust filters, intake vents, exhaust vents, and fan blades. Look for restricted filters, loose cables touching fans, unusual vibration, and dust buildup around the CPU cooler and graphics card. Check that the PC has clear space around its major vents. A clean filter is useful only if air can still enter and leave the case.
For a safe cleaning workflow, power down and disconnect the PC, move it to a ventilated area, and use short bursts of compressed air while holding each fan still. Holding a fan prevents it from spinning freely during cleaning. Keep the nozzle at a reasonable distance, avoid liquid cleaners inside the case, and do not use a household vacuum directly on exposed components. Wipe external panels separately with a dry or lightly dampened cloth, making sure no moisture reaches the hardware.
2. Temperatures and fan behavior
Use a reputable hardware-monitoring application to observe CPU and GPU temperatures at idle and during a typical gaming session. The useful information is not a single universal number; it is the pattern for your particular system. Record the game, graphics settings, room conditions if relevant, and whether the side panel is installed. Also note sudden fan-speed changes, thermal throttling indicators, crashes, or performance drops.
Compare new readings with your own baseline. A gradual rise after months of use may point to dust, a changed fan curve, blocked airflow, or aging thermal material. A sudden rise after moving the PC may indicate a loose cooler, disconnected fan, or cable obstructing airflow. If temperatures are unexpectedly high, stop intensive testing and inspect the physical installation before changing multiple settings.
3. Storage health and available space
Review the remaining space on each game library drive and the drive that holds the operating system. Keep enough working room for updates, shader caches, temporary files, and normal system operations rather than filling every drive to capacity. Remove games you no longer play, clear obsolete installers, and move recordings or archived files to a separate location.
Check the drive’s health information using the manufacturer’s utility or a trusted monitoring tool that supports the drive type. Treat warning messages, repeated file errors, disappearing volumes, and unusually slow transfers as reasons to back up important data promptly. Do not wait for a drive to fail before protecting saves, screenshots, recordings, and configuration files. For a broader save-management routine, see how to back up game saves across PC and consoles.
4. Drivers, firmware, and software changes
Check graphics drivers when a new game has compatibility issues, a major game update changes performance, or the driver release specifically addresses a problem affecting your setup. You do not need to install every driver on the day it appears if your system is stable, but you should avoid running an old driver indefinitely when a supported update solves a known issue.
Review chipset, network, audio, and motherboard support pages when troubleshooting a persistent problem or after a significant hardware change. BIOS or UEFI updates deserve extra caution: confirm the exact motherboard model, read the vendor’s instructions, use stable power, and avoid interrupting the update. Do not update firmware simply because a newer file exists if you cannot identify a relevant reason and follow the manufacturer’s process.
5. Cables, peripherals, and system records
Confirm that power and display cables are firmly seated, USB devices are working, and controllers, headsets, and capture equipment are recognized. Keep a short record of your hardware configuration, driver versions, recent upgrades, and temperature baseline. That record makes future troubleshooting more efficient and helps you identify what changed after a crash or performance issue.
Cadence and checkpoints
Monthly check
- Inspect visible dust filters, vents, and fan areas.
- Review storage space and remove unnecessary files or games.
- Check recent crashes, unusual noise, fan behavior, and performance changes.
- Confirm that important saves and personal files are backed up.
- Review graphics-driver notifications and update only when appropriate for your games or issue.
Every three to six months
- Power down and perform a more thorough external and internal dust inspection.
- Clean removable filters and verify that every fan spins smoothly.
- Compare current CPU and GPU readings with your recorded baseline.
- Check drive-health information and inspect cables and component seating.
- Review motherboard, chipset, network, and peripheral firmware only when the model and update procedure are confirmed.
Before a major game or hardware change
Install pending operating-system updates during a convenient window, confirm adequate storage, and record a baseline session in a demanding game you already know well. This gives you a comparison point if the new title performs poorly. After installing a GPU, cooler, drive, or memory kit, test one change at a time where possible and verify temperatures, stability, and device recognition before adding more variables.
How to interpret changes
Use symptoms to narrow the next action rather than immediately reinstalling everything.
| Symptom | First checks |
|---|---|
| Higher temperatures over time | Clean filters and fans, confirm airflow, check fan operation, then review cooler mounting and thermal material if appropriate. |
| Sudden temperature increase after moving the PC | Inspect cooler seating, fan cables, case orientation, and blocked vents. |
| Stuttering after a game update | Check game settings, shader or cache behavior, graphics-driver notes, background applications, and available storage. |
| Slow loading or file errors | Back up important data, review drive health and connections, and avoid treating a possible hardware warning as a software-only issue. |
| Random crashes or restarts | Record when they occur, check temperatures and event logs, verify power and cables, and undo recent overclocks or hardware changes while testing. |
| Fan noise or vibration | Inspect for dust, obstruction, loose panels, and a failing fan; do not ignore a grinding or irregular sound. |
A useful rule is to change one major variable at a time. If you update the driver, change graphics settings, and alter a fan curve simultaneously, it becomes difficult to identify the cause of an improvement or failure. Keep the original settings available so you can reverse a change safely.
When to revisit
Return to this gaming PC maintenance checklist monthly for the quick inspection and every three to six months for deeper cleaning and health checks. Revisit it immediately when you hear new noises, see unusual temperatures, encounter repeated crashes, notice storage warnings, or install demanding hardware. It is also worth using before a long gaming event, a major new release, travel, or long-term storage.
When preparing a PC for storage, clean and dry it, back up personal files and game saves, document the hardware, and store it in a dry location away from excessive heat and dust. Before putting it back into service, inspect cables and fans, reconnect it carefully, and confirm normal temperatures during a short test session.
Keep this article current for your own setup by recording the date of each cleaning, the last driver or firmware change, storage-health observations, and temperature readings. If a maintenance task requires removing a cooler, handling delicate connectors, or updating firmware, consult the component manufacturer’s current instructions first. Consistent small checks are safer and more useful than waiting for a major failure.